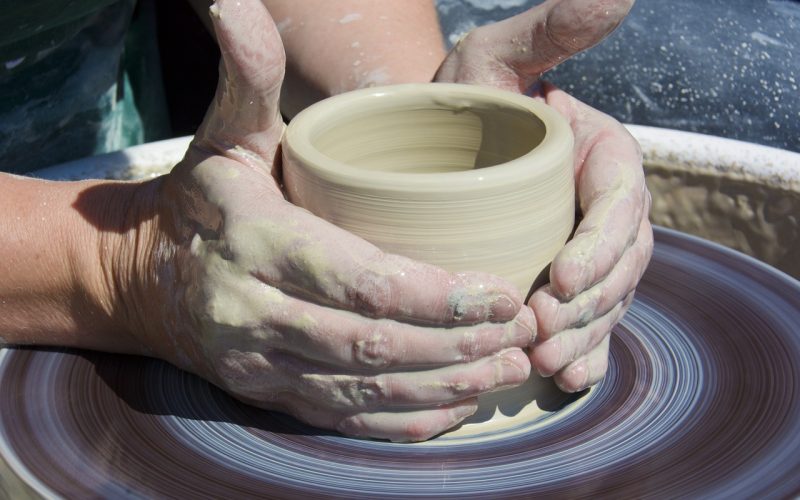
Clay is the foundation of any ceramic project, whether you're throwing a pot on the wheel or hand-building a sculpture. Choosing the right clay and preparing it properly can make the difference between a successful piece and a frustrating experience. Understanding the characteristics of different clay types and how to condition them will set you up for creative success.
Understanding clay types
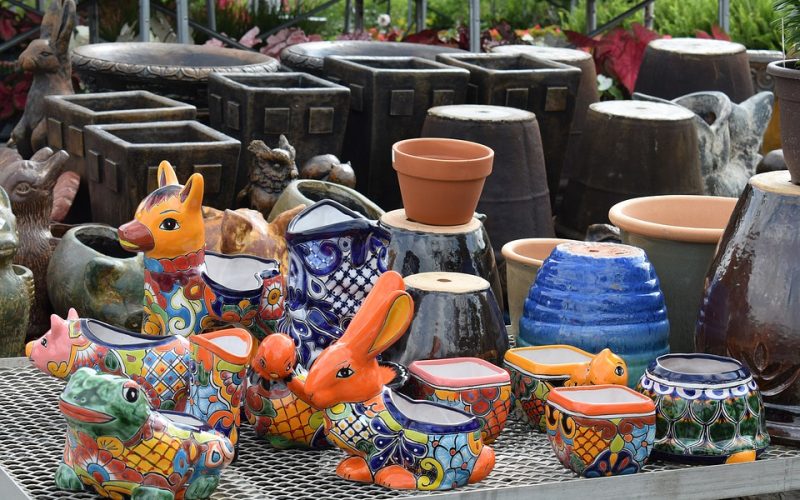
Not all clays are created equal. Earthenware, stoneware, and porcelain each have distinct properties that make them suitable for different applications. Earthenware fires at lower temperatures and produces porous, rustic pieces in warm terracotta tones. Stoneware is more versatile, firing at mid-to-high temperatures to create durable, functional ware. Porcelain, prized for its translucency and smooth texture, requires the highest firing temperatures and demands more skill to work with.
When selecting clay, consider your intended firing method, the type of object you're making, and your experience level. Beginners often find success with stoneware, which is forgiving and widely available. If you're planning decorative pieces that won't hold water, earthenware offers vibrant colour possibilities. For delicate, refined work, porcelain rewards patience with stunning results.
Checking clay consistency
Before you begin working, assess your clay's moisture content. Clay that's too wet will be sticky and difficult to shape, whilst overly dry clay cracks and crumbles. Properly conditioned clay should feel smooth and pliable, holding its shape without sagging or sticking excessively to your hands.
Press your thumb into the clay. It should leave a clear impression without the clay sticking to your skin or the edges cracking. If the clay is too soft, leave it uncovered on a plaster bat for a few hours to absorb excess moisture. If it's too hard, sprinkle it with water, cover it tightly in plastic, and allow it to rest overnight.
Wedging your clay
Wedging is an essential preparation step that removes air bubbles and creates uniform consistency throughout the clay body. Air pockets can cause pieces to explode in the kiln, so this process shouldn't be skipped.
Cut your clay in half with a wire tool and slam the pieces together on your work surface. Repeat this several times, then knead the clay using a rocking motion with the heels of your hands. Continue wedging for at least five minutes, or until the clay feels consistently smooth. When you cut through a properly wedged piece of clay, the cross-section should be free of holes and marbling.
Storing prepared clay
Proper storage keeps your clay workable between sessions. Wrap it tightly in plastic, ensuring no air can reach the surface. For longer storage, place the wrapped clay in an airtight container or bucket. A damp sponge or cloth placed alongside the clay (but not touching it directly) helps maintain ideal moisture levels.
Reclaim dried scraps by breaking them into small pieces, covering them with water, and allowing them to break down into slip. Once the water is absorbed, pour off any excess and spread the clay on a plaster bat to dry to working consistency. This recycled clay should be wedged thoroughly before use.
Taking time to select appropriate clay and prepare it properly pays dividends throughout your creative process. Well-prepared clay responds predictably to your touch, allowing you to focus on bringing your artistic vision to life rather than fighting with your materials.